Resizing and Modifing an Image
Resizing an Image
This section of the tutorial is going to changing the size and display values of an image.
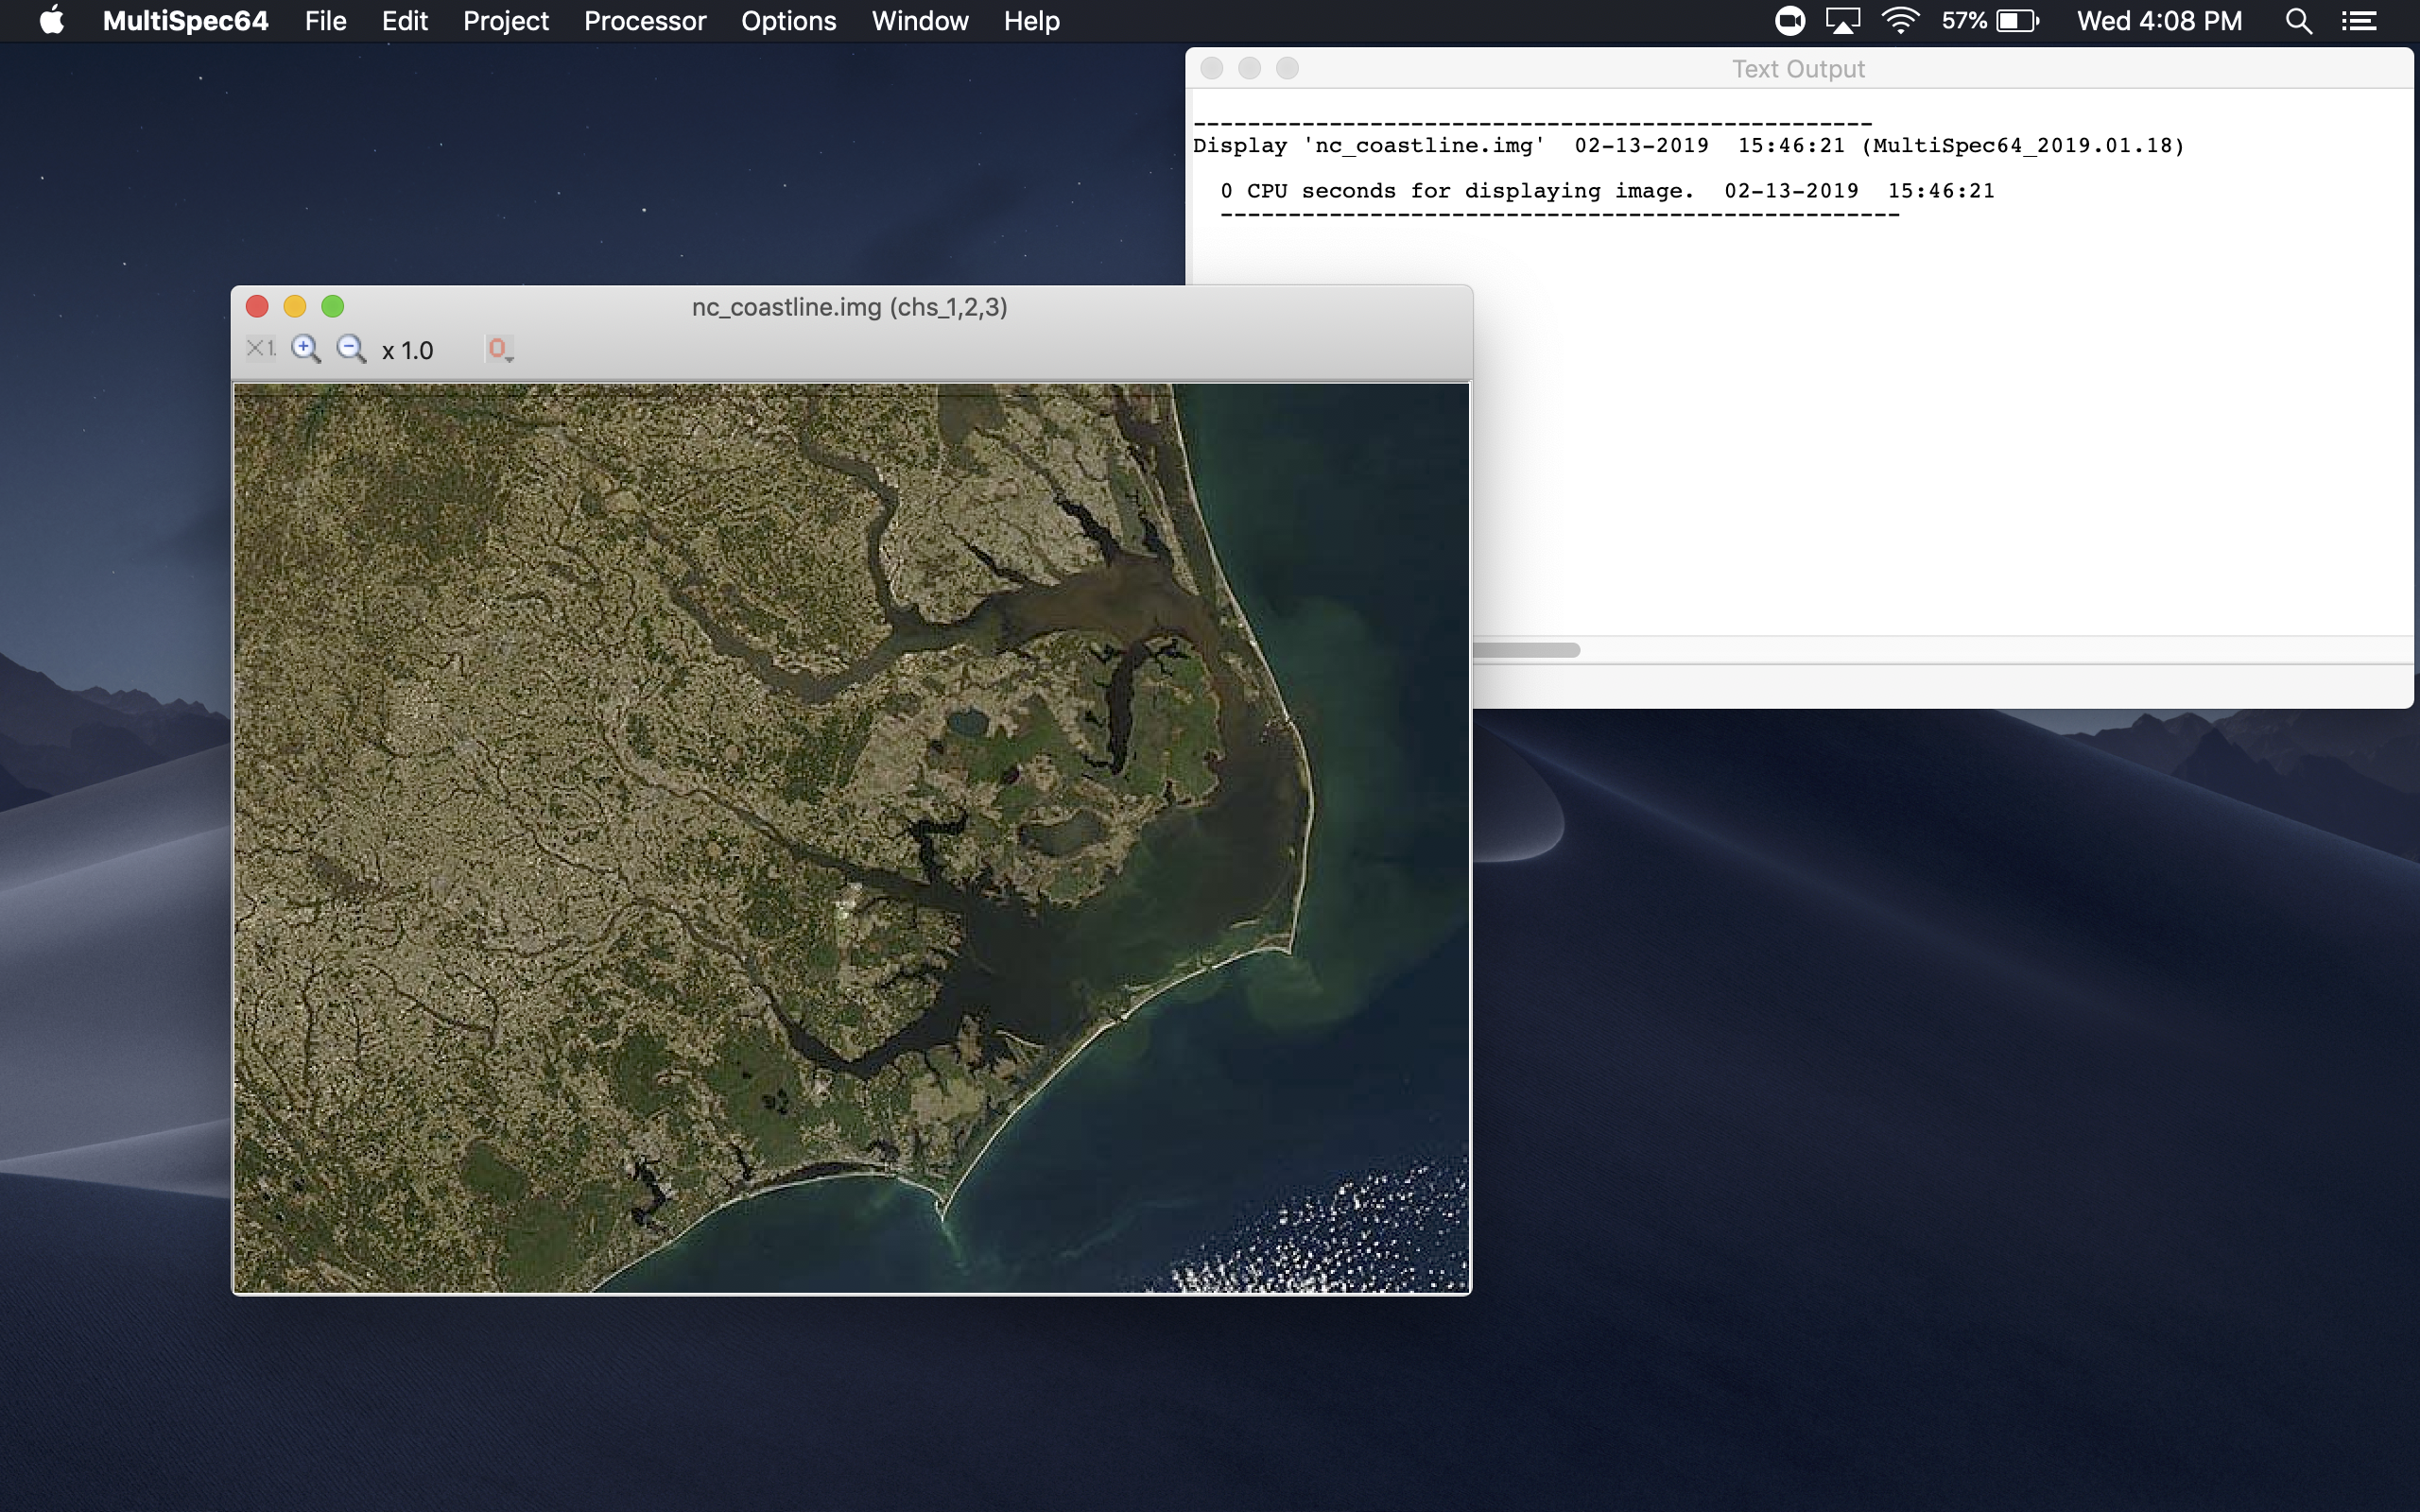
Begin opening the image from the previous tutorial. To download the image use this link.
Next from the "Processor" tab in the toolbar at the top of the screen click "Display Image".
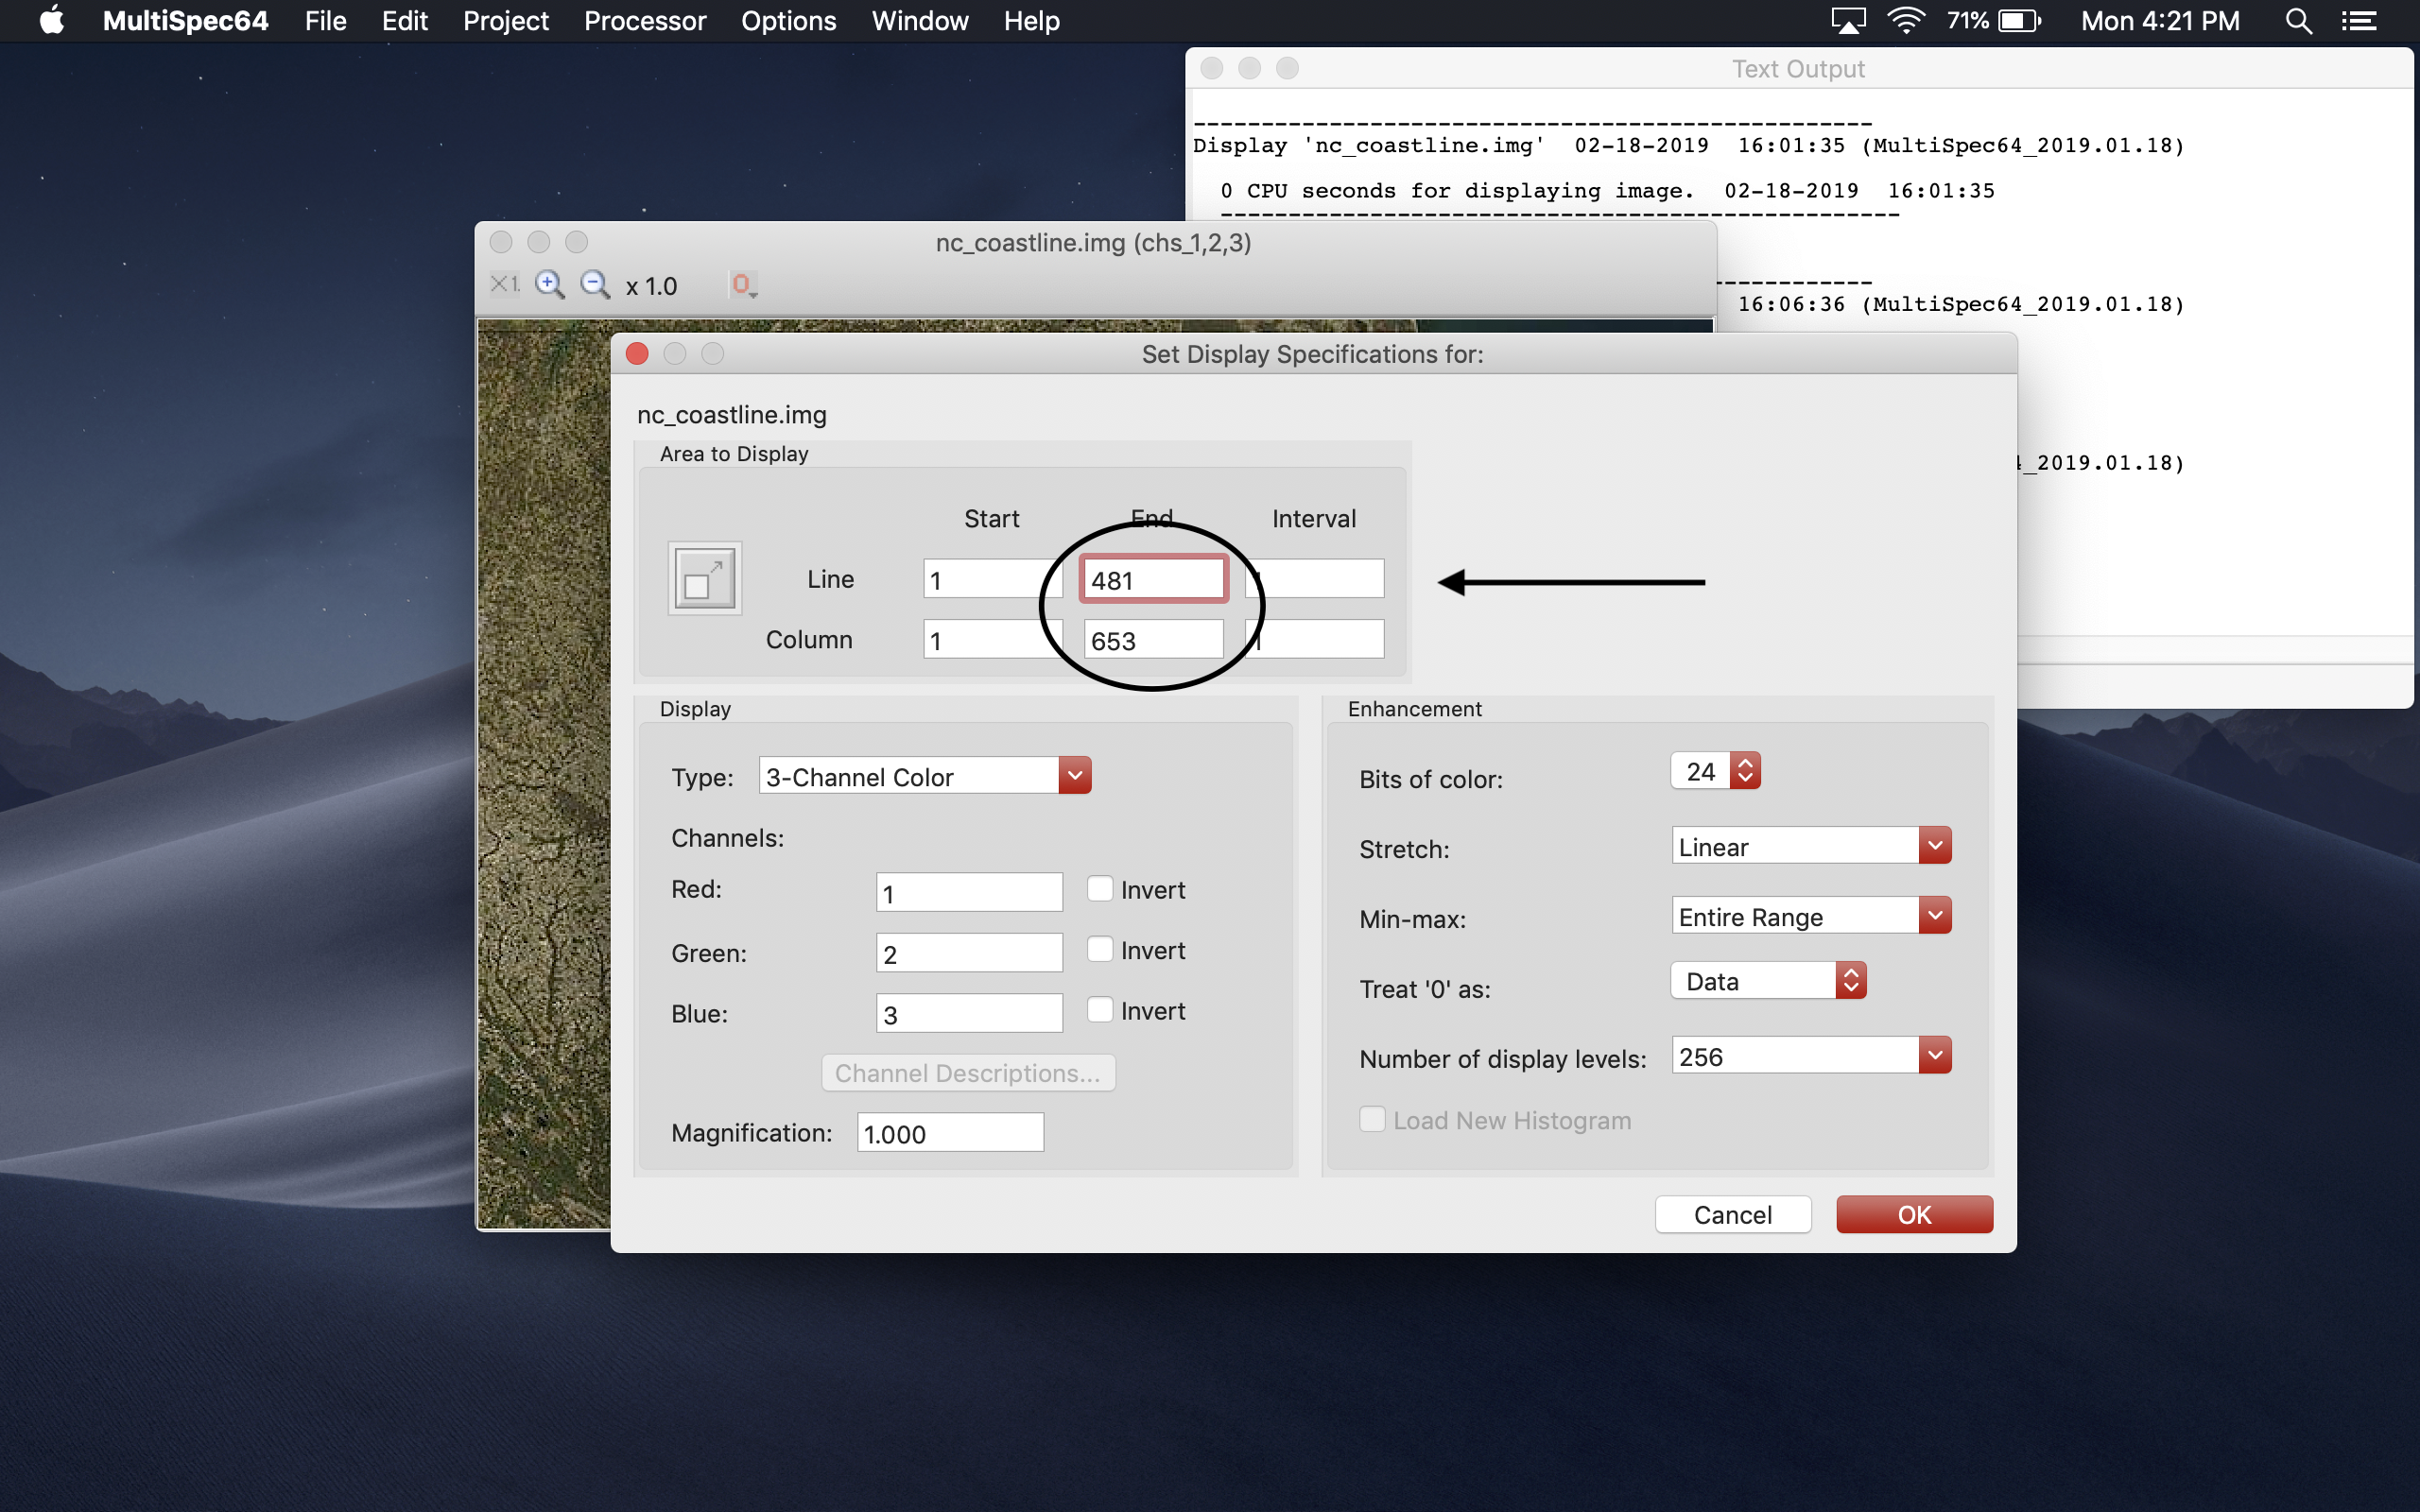
This will open a window. In this window the user can see that there are multiple input fields but for now lets focus on the section labeled "Area to Display" (marked by arrow).
In this section the user can see that there are default values in the input fields. These values represent the dimensions of the image in relation to each row of pixels in the image. The two values under the column labeled "End" will be set to the maximum values possible. This means that by default MultiSpec displays the entire image.
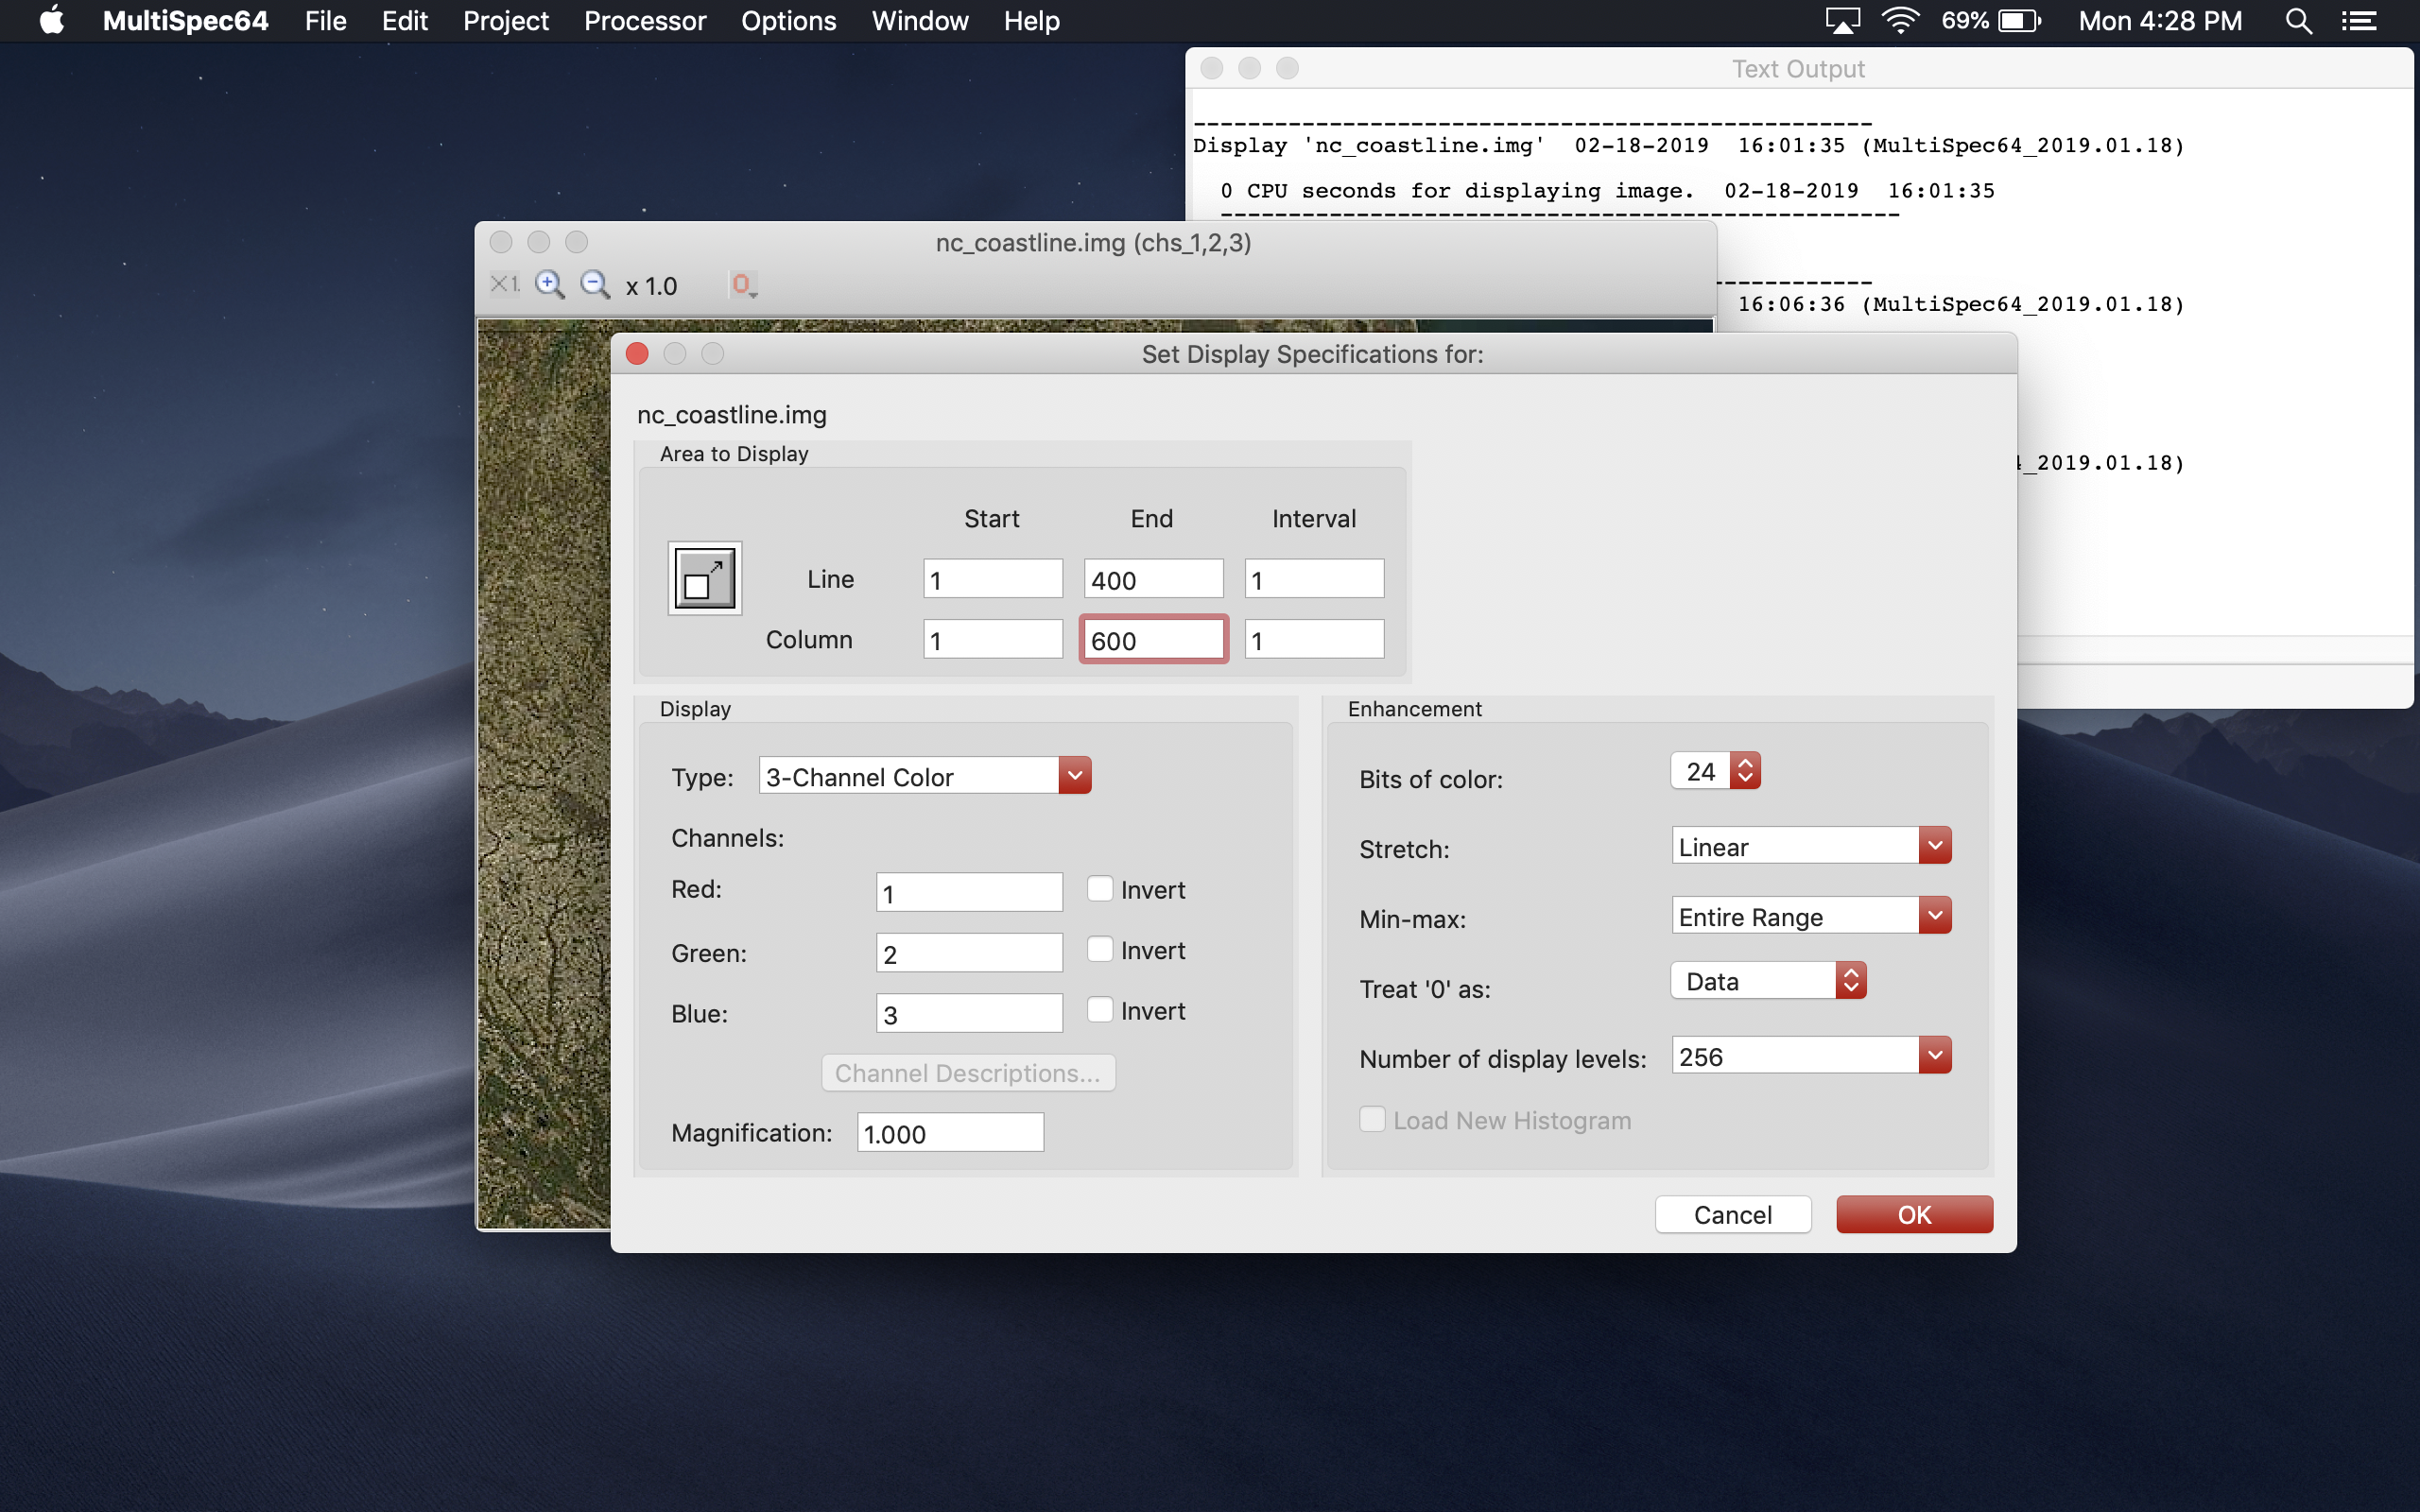
Now, change the end value for the line to "400" and the end value for the column to "600"
This will change the dimensions of the displayed image but not the window.
NOTE Doing this has more of a cropping aspect rather than resizing the entire image.


Continue to next tutorial.